How to Batch Print Labels Without Shipping Chaos
Learn how to batch print labels, compare carrier rates, catch address errors, and ship more orders fast without paying retail postage prices at scale.
August 1, 2026
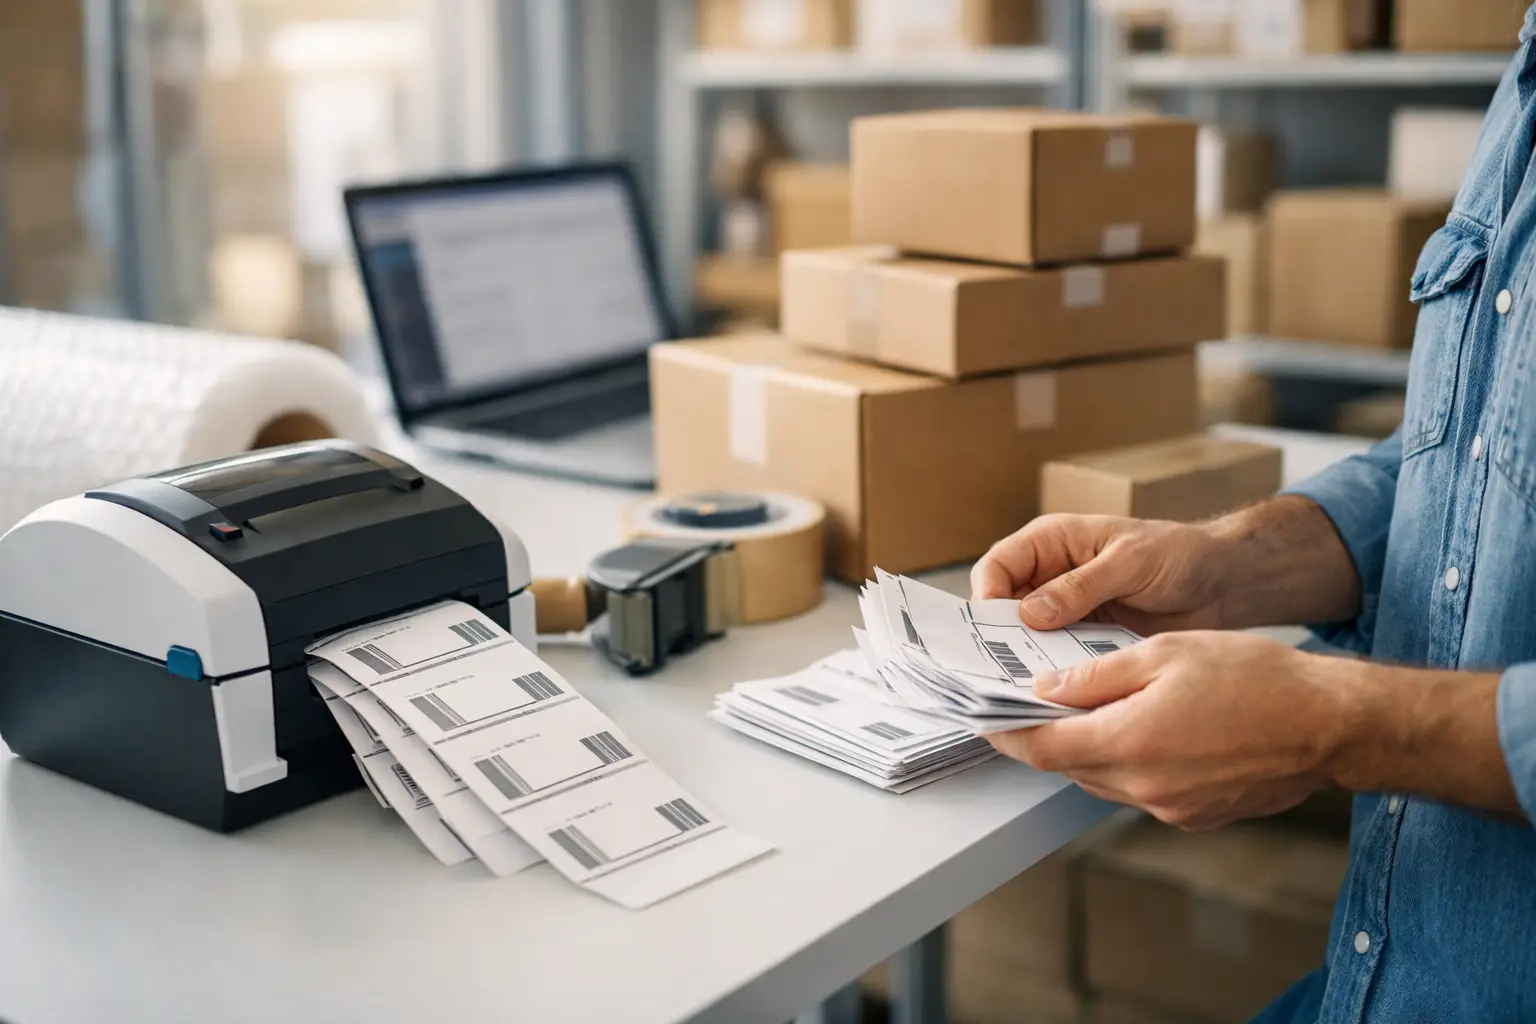
A stack of paid orders should feel like a good day, not a scavenger hunt through carrier sites, spreadsheets, and sticky notes. Learning how to batch print labels turns the part of fulfillment that eats your afternoon into a repeatable workflow: import orders, fix the exceptions, choose services, print, pack, done.
The trick is not printing more labels at once. The trick is making sure every order has clean data, the right package details, and a shipping service that does not quietly chew through your margin. Here is how to do it without creating a beautiful new pile of problems.
What batch printing labels actually means
Batch printing means buying and generating shipping labels for multiple orders in one session instead of opening each order, entering shipping details, selecting a carrier, and printing one label at a time. Depending on your setup, you can pull orders from connected stores, upload a CSV file, or manually add several shipments before processing them together.
For a seller shipping 10 orders a day, batch printing saves annoying clicks. For a team shipping 100 or 1,000, it is the difference between a controlled operation and someone yelling, “Who printed this label?” from across the warehouse.
A good batch workflow lets you review addresses, weights, package sizes, service levels, and costs before you buy. That last part matters. Fast printing is great. Fast printing at a terrible rate is just expensive efficiency.
Set up your shipping rules before the orders arrive
The best time to decide how you will ship a product is before it becomes part of a 75-order batch. Create a few clear defaults based on what you sell, where it goes, and how quickly it needs to arrive.
If most of your products fit in the same mailer, save that package type with its usual dimensions and weight. If you sell a mix of small accessories, shoes, and oversized items, create presets for each common package. This prevents the classic fulfillment mistake: using a one-pound default on an order that actually weighs 1 pound, 5 ounces. That extra five ounces can change the rate, and incorrect package data can lead to carrier adjustments later.
You should also decide which shipping services make sense for different order types. Maybe lightweight, non-urgent orders usually go USPS. Maybe larger domestic parcels often make more sense with UPS or FedEx. There is no universal winner. Zone, weight, dimensions, destination type, delivery promise, and surcharges all affect the answer.
Set rules where they are truly predictable, but do not automate yourself into bad choices. A rule that saves $1 on 80 percent of shipments is useful. A rule that causes late deliveries, surprise dimensional charges, or a flood of customer emails is not.
How to batch print labels in 7 practical steps
1. Bring your orders into one workspace
Start by importing the orders you are ready to fulfill. A connected ecommerce store can sync orders automatically, while a CSV upload works well for marketplace exports, wholesale shipments, or one-off order files.
Before you move on, filter out orders that should not ship yet. That may include unverified addresses, backordered items, local pickup orders, fraud holds, or orders waiting on a customer response. Batch printing is not a reason to push questionable shipments through faster.
2. Confirm the ship-from address and return address
Your ship-from address affects rates, estimated delivery dates, and where undeliverable packages may return. Make sure it reflects the warehouse, office, home, or fulfillment location actually handing the parcel to the carrier.
If you ship from more than one location, assign the correct origin before you rate the batch. Shipping a package as if it leaves from Dallas when it really leaves from New Jersey can make your rate comparison useless. Tiny setup detail, big postage consequence.
3. Validate addresses before buying postage
Address validation catches obvious issues such as missing apartment numbers, incomplete ZIP codes, or formatting problems. It will not solve every delivery problem, but it is a cheap way to avoid labels headed straight for a bad outcome.
Pay special attention to apartment buildings, suites, rural routes, military addresses, and orders with customer-entered notes crammed into the address fields. When an address looks weird, stop and check it. One manual review is usually cheaper than a return shipment, replacement order, and unhappy customer.
4. Add accurate weights and dimensions
Use a scale. Seriously. Guessing weights works right up until the carrier invoice proves that it did not.
Enter the packed weight, not just the product weight. Include mailers, boxes, tape, inserts, void fill, and whatever branded goodness you put inside. Add outside dimensions for packages, especially larger boxes. Carriers may bill based on dimensional weight when a package takes up more truck or aircraft space than its actual weight suggests.
This is also where saved package presets earn their keep. Apply a preset to common orders, then review anything unusual. Bundles, multi-item purchases, and gift sets are common troublemakers because they may not fit the usual package.
5. Compare rates and delivery options across the batch
Now review carrier services for each shipment. Do not assume the cheapest service is always the right call, and do not assume your favorite carrier wins every lane.
Look at the actual rate alongside delivery expectations and service features. A $2 savings may be worth it for a low-value, non-urgent order. It may not be worth it for a time-sensitive replacement, a high-value item, or a customer who paid for expedited shipping.
A platform like The Shipping Dude puts USPS, UPS, and FedEx rates in one place, so you can see the trade-offs without bouncing between carrier tabs like it is 2009. Pick the service that fits the order, then apply it to similar shipments when appropriate.
6. Review exceptions, then purchase labels together
Before you hit buy, sort the batch by warnings or unusually high costs. Check for duplicate orders, missing weights, invalid addresses, oversized parcels, and shipping charges that look wildly out of character. If a two-pound shipment suddenly costs more than the product itself, do not shrug and print it. Find out why.
Once the exceptions are handled, buy the labels as a group. Your shipping software should assign tracking numbers and mark the relevant orders as fulfilled or ready to fulfill, depending on your integration and settings.
7. Print in the format your station can handle
For most ecommerce operations, 4-by-6 thermal labels are the cleanest option. They print fast, do not require ink, and fit standard shipping labels without trimming. If you use a regular printer, choose a compatible label sheet or print format and confirm alignment before you send a giant batch to the printer.
Print one test label after changing printers, label stock, browser settings, or print scaling. A five-second test beats discovering that 60 labels printed half an inch off-center. Keep print scaling at 100 percent unless your printer setup specifically requires something else.
Build a packing process that keeps labels with the right orders
Buying labels in bulk is only half the job. The real risk comes after printing, when a busy packing table turns into a label swap party nobody wanted.
Use a consistent order. You can pack in the same sequence labels were printed, sort by SKU or bin location before printing, or print packing slips and labels in matching order. The right method depends on your inventory layout and order volume. What matters is that everyone on the team follows the same method.
For higher-volume batches, use a scan check before sealing each package. Scan the order or packing slip, scan the label, and confirm they match. It adds a moment, but it can prevent costly mis-shipments, bad reviews, and the awkward task of asking a customer to forward a package to a stranger.
Keep a separate exception area for anything that cannot ship immediately. Do not leave problem orders mixed into the ready-to-pack stack. One clearly marked “needs review” bin is boring, which is exactly why it works.
Common batch-printing mistakes that cost real money
The first mistake is printing labels too early. If orders can still be canceled or changed, wait until your cut-off time or inventory verification is complete. Voiding unused labels later is possible with many services, but it creates avoidable cleanup.
The second is treating every shipment like the last one. Rate shopping is not just for giant boxes or international shipments. Small changes in destination and package size can flip the cheapest carrier.
The third is ignoring the end-of-day handoff. Labels are not magic teleportation stickers. Make sure your carrier pickup is scheduled or your packages are dropped off on time. If a batch misses the day’s pickup, customers may see tracking that says “label created” for longer than they expect.
Finally, do not let your workflow depend on one person’s memory. Document package presets, cutoff times, exception rules, and printer settings. A process that only works when your shipping wizard is in the building is not a process. It is a hostage situation.
Make the batch smaller before you make it bigger
If you are new to batch shipping, start with 10 to 20 orders and run the full process: import, validate, rate, print, pack, scan, hand off. Notice where the friction lives. Maybe it is bad product weights, a clunky CSV export, or labels printing in the wrong order.
Fix that one bottleneck, then scale the batch. The goal is not to print the biggest possible stack of labels. The goal is to ship the right orders at the right price, fast enough that your business keeps moving and your postage bill does not get weird.
